It has been what feels like forever since I’ve done an American Girl Doll post and it feels like even longer since I’ve actually made anything for our dolls. Today, I’ve got a diy that only took me about a year to actually finish…geez… I say that a lot. I finally made these American Girl Doll Bunk Beds for our dolls from inexpensive IKEA doll beds.
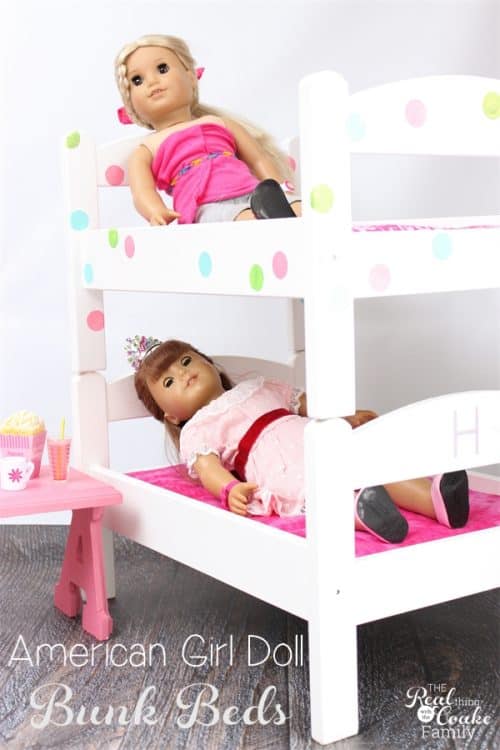
I started these beds in April last year. Life got busy and other projects were more pressing. I really wish I had completed these when I started because with kids, things change a lot in a year. My older daughter is no longer really playing with her dolls and doesn’t care that much that I finally finished the project. I think my younger daughter may actually get all the beds soon and have quad bunk beds. Won’t that be a sight to see! Anyway, it makes me sad how quick things change and that I missed the opportunity, even though I know those other things I tackled were important.
Now that I’ve shared my nostalgic moment, how about I share with you how you can do your own IKEA hack and make two doll beds into bunk beds. It is an easy project if you know how to use a drill and paint. The way I made our beds, they can be used as regular doll beds or bunk beds because I love variety and flexibility!
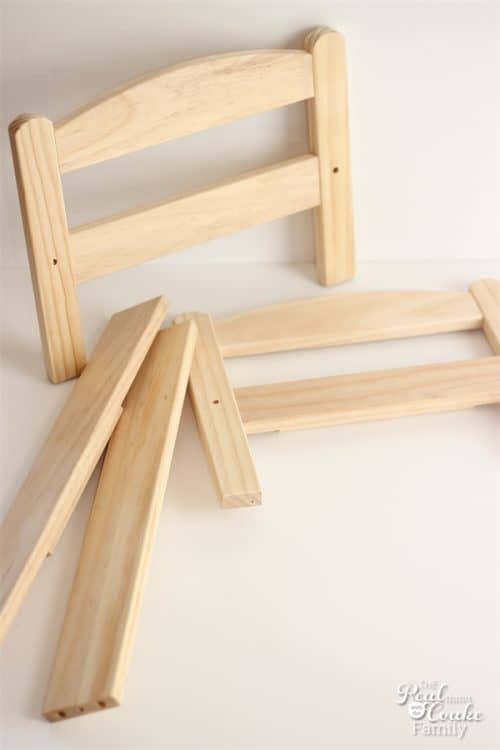
Start with the plain unfinished wood bed.
I start by priming the bed first so that I will get an even finish.
Paint the bed in whatever colors and/or patterns your sweetie has selected.
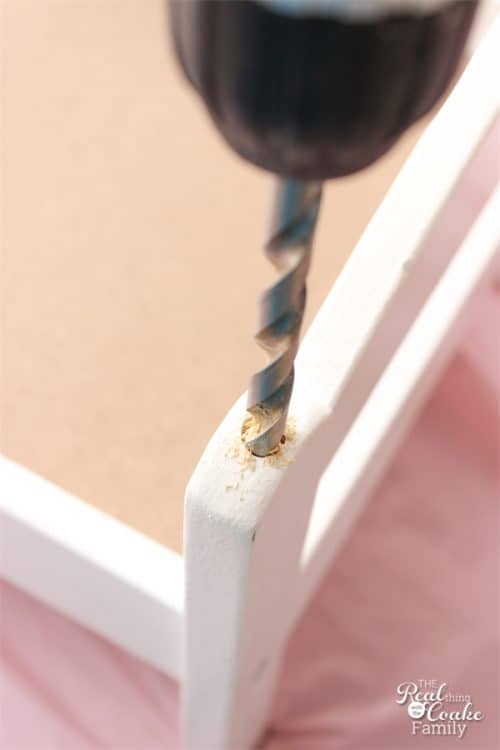
When all that paint has dried, use a 3/8 drill bit and drill in the center of each of the four posts of the bed. Drill 1″ deep.
You will want to do this on the top of one bed and the bottom of the other bed (unless you want to be able to stack them any which way, in which case you will want to drill the holes top and bottom of all the bed posts).
I hadn’t done it yet in the picture above, but it is super helpful if you take a piece of painter’s tape or masking tape and mark the 1″ depth on the drill bit (or you could try one of these drill stops![]() – affiliate link). Then you know exactly when you have drilled deep enough.
– affiliate link). Then you know exactly when you have drilled deep enough.
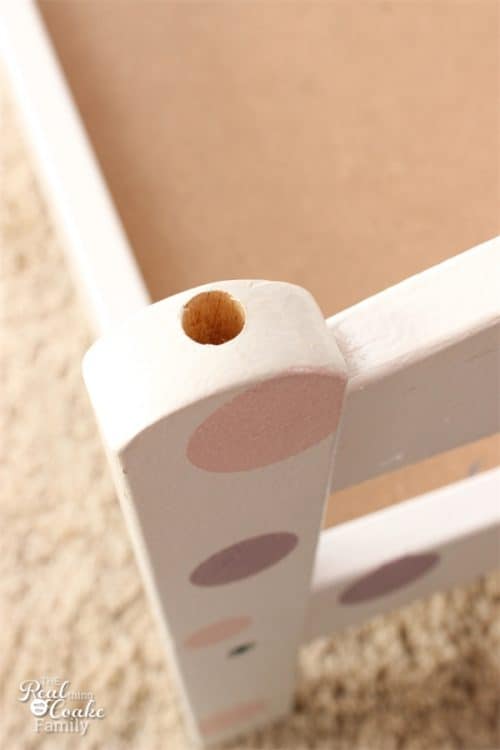
Do your best to mark the center of each post and drill dead on center.
I tried that, but for some reason no matter how careful I was the holes didn’t end up perfectly centered. It does matter a bit and I’ll show you why a little later in the post.
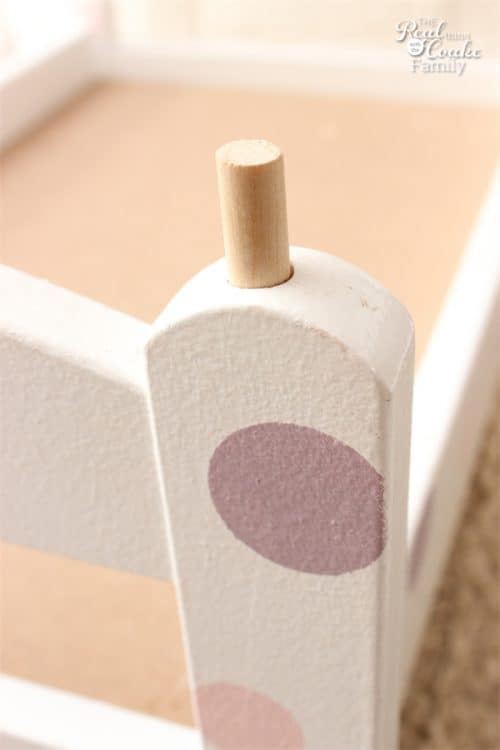
Take a 3/8″ wide dowel rod and cut 4 pieces for each bed that are 1.75″ long. Place the dowel rod into the hole you just drilled and place the second bed on top.
I fashioned the beds this way because this is essentially how my daughters bunk beds went together. Their beds can be used separately or as bunk beds. All that kept them together was a large rod like this dowel rod. It was very surprising to me, but I figured if it was good enough for humans, it was good enough for dolls. 🙂
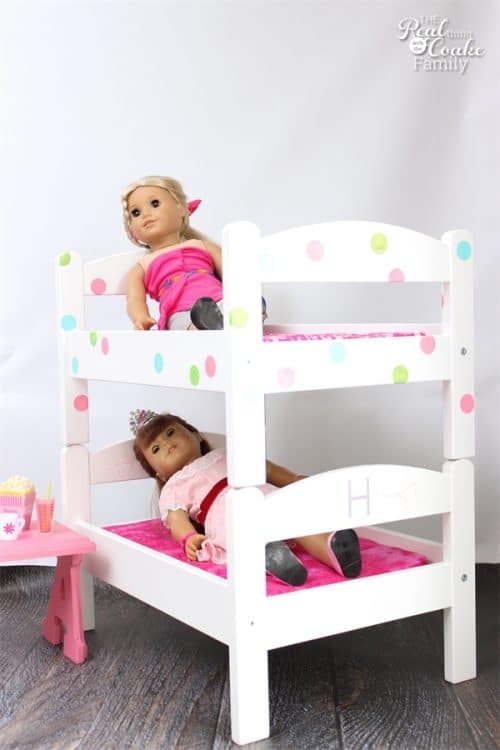
Once you have lined up the dowel rods and secured the beds, you are done and you have adorable bunk beds for you dolls.
These beds are Snowflake’s (my older daughter).
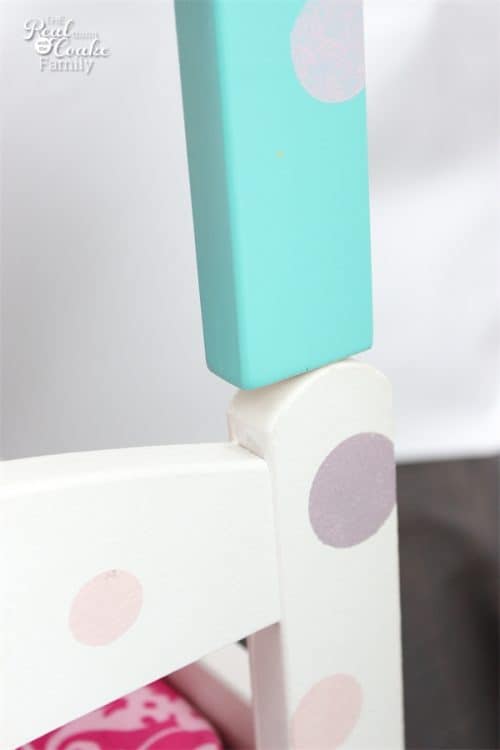
Now remember when I mentioned drilling as close to the center of the posts as possible? This is what it looks like when you got those holes centered or almost centered.
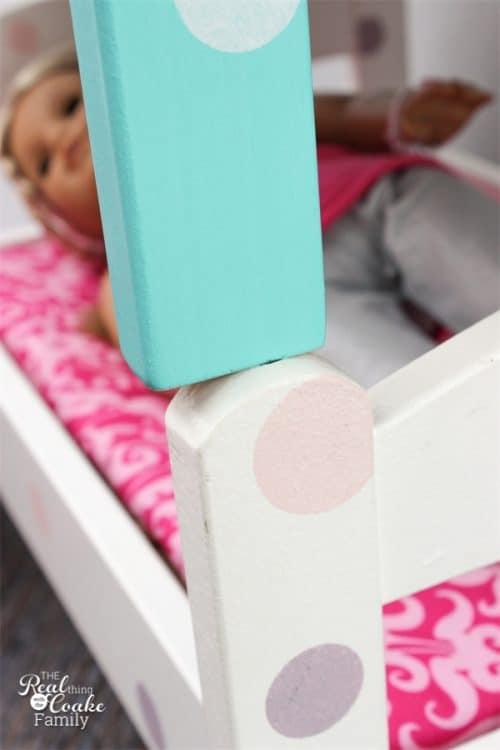
This is what it looks like when you didn’t get the holes centered. In both sets of bunk beds I made, I was only able to use 2 dowel rods to hold the beds together. The holes were just too wonky to get more dowel rods to line up together.
It actually works fine and the beds stay together fine that way. So, if your holes are wonky like mine, as long as you can get two holes to line up you will be fine.
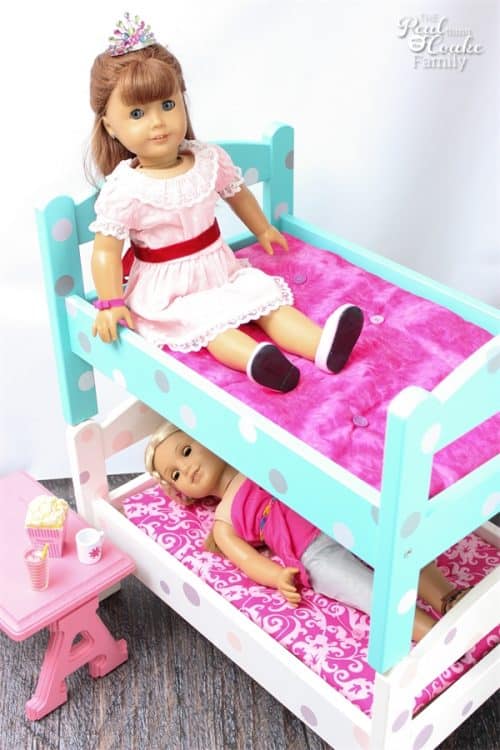
The dolls had to immediately have a slumber party.
These are Pumpkin’s beds (my younger daughter).
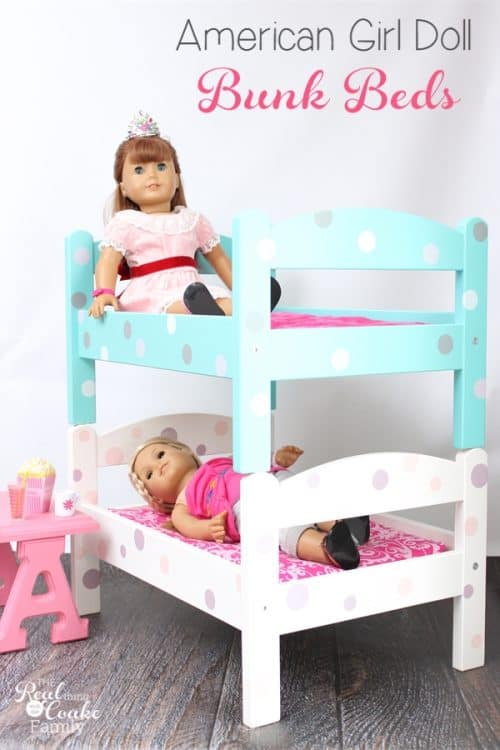
Now that I have completed this project, I have created another project for myself. Sigh. The beds now need more bedding. We only have enough bedding for the two original beds. I’m going to make more bedding next month. I will show that to you then, but if you are more efficient than I am, you can look at my old post on making doll bedding.
This is another of those projects off my to-do list. Yay! It certainly wasn’t hard. It did take some time…you know painting, waiting for paint to dry, painting some more, more waiting, and finally the drilling (which was a lot easier and faster than I thought it would be). We think it is a really cute project and provides some much-needed additional sleeping space for our dolls. I’m sure if you decide to give this project a try you will be glad you did and your AG fan will be even more happy…which will make it all worth it. 🙂
More American Girl Doll Fun:
If you need even more AG inspiration, I have a whole Pinterest board pinned to by some of the best AG Doll bloggers and me. – Have fun!
Follow The Real Thing with the Coake Family’s board American Girl Doll Ideas on Pinterest.

I would have made tops of bottom bed flat before drilling holes.
Thanks for your suggestion.