Can someone please tell me where this year has gone? I can’t believe it is November and Thanksgiving is a few weeks away! I’m having fun getting ready for Thanksgiving by making some pretty things for my Thanksgiving table. Today, I’ve got a DIY burlap table runner to show you. It could also easily be used on your fall table as well.
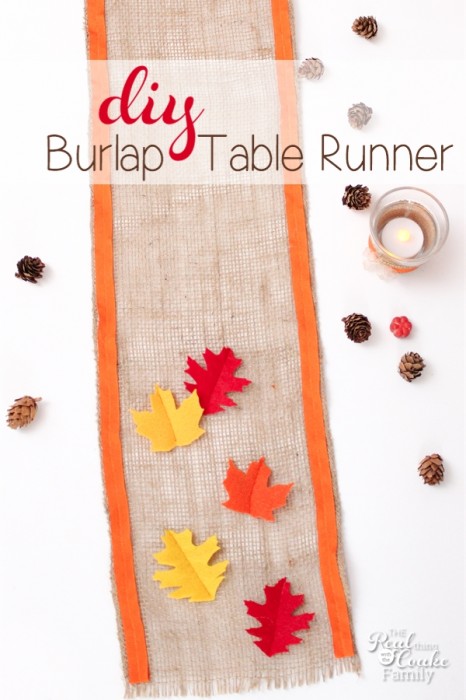
I decorated for Halloween this year rather than going for a fall motif. I don’t like to decorate my house for Christmas until after Thanksgiving. I needed something for the next few weeks. I get bored easily, so I wanted to make something new for this year. I had all these supplies on hand already (except that orange thread I thought I had and had to run out and get so I could finish the project), so it was a free/low-cost project for me. Love that!
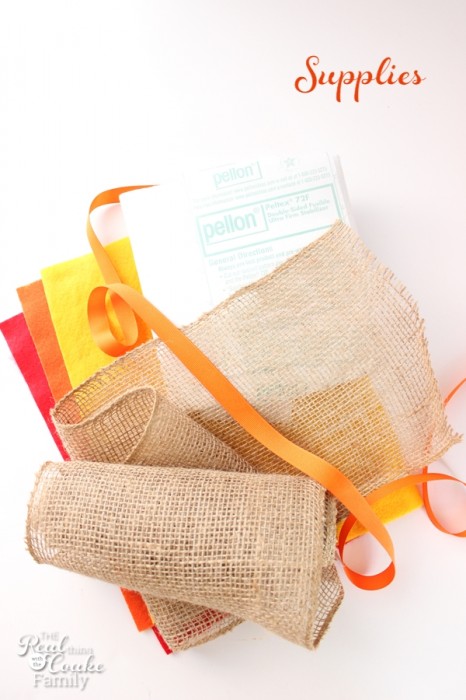
Craft Supplies:
- Burlap
 – affiliate link (mine is 8″ wide)
 - Orange Grosgrain ribbon
- Red, yellow and orange felt
- Red, yellow and orange thread
- Leaf template
- You will not need the Pellon pictured above
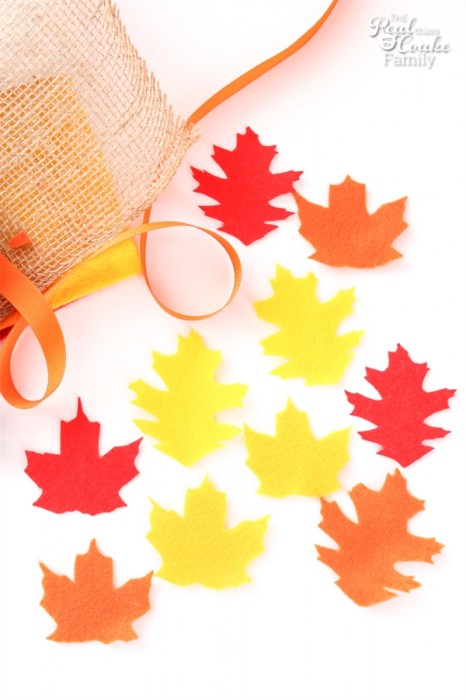
Start by cutting out your leaves. If you can do such things freehand, go for it. I can’t cut things like this…or really anything, freehand. I made a template for myself and I’ve got it to share with you. Just click on this link to download it: Table runner leaf pattern.
Cut a length of burlap that is the length you want your finished table runner.
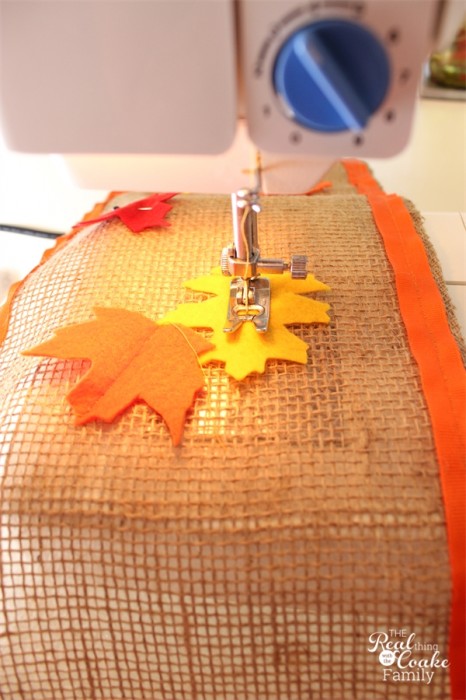
Pin your ribbon to the edge of your burlap. I pinned mine so that a small amount of the burlap would show at the edge. Decide where you want your leaves placed on your table runner. I placed mine at the two ends. I wanted the center open to have room to put my other Thanksgiving crafts.
Sew the ribbon into place with a thread the same color as the ribbon. Sew the leaves into place. Be careful with your back-stitch near the top of the leaf. It is very narrow and can easily get bent up or smooshed a little bit when you back-stitch.
One other tip – use your sewing machine on a narrow stitch when sewing with burlap. The openness of the burlap needs a smaller stitch to make sure the ribbon or leaves are sewn well to the table runner.
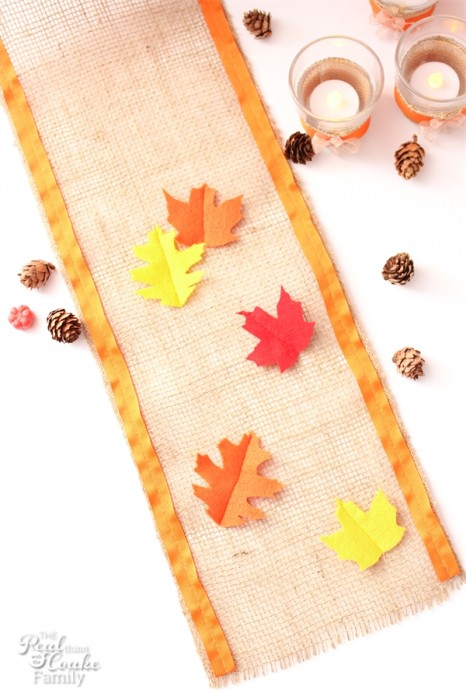
I had originally thought I was going to stiffen the leaves like I did with the burlap table runner I made for Valentine’s Day. Then the leaves took me forever to cut out and I lacked the patience to cut out a second set of leaves to fuse with the Pellon(so it wouldn’t show like with the Valentine’s Day table runner). I thought about just putting a small strip down the center in the back of the leaf and fusing that to another small piece of felt. That began to feel like too much work. *sigh* In the end I decided to sew the leaves down the center.
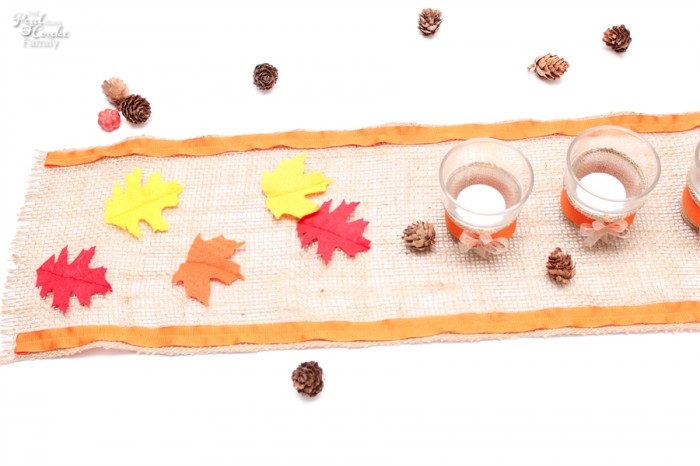
When you are sewing your table runner, make sure to tuck a small piece of the grosgrain ribbon under at each end. This will keep the ribbon from fraying or unraveling. You could also burn the ends, but I prefer the more polished look of folding a small piece under and sewing it to finish.
Oh and if you are handy with a glue gun and don’t know how to sew, I really think you would make this whole table runner using the hot glue gun. Just wear something to protect your fingers because the hot glue will seep through the burlap much more easily than other fabrics.
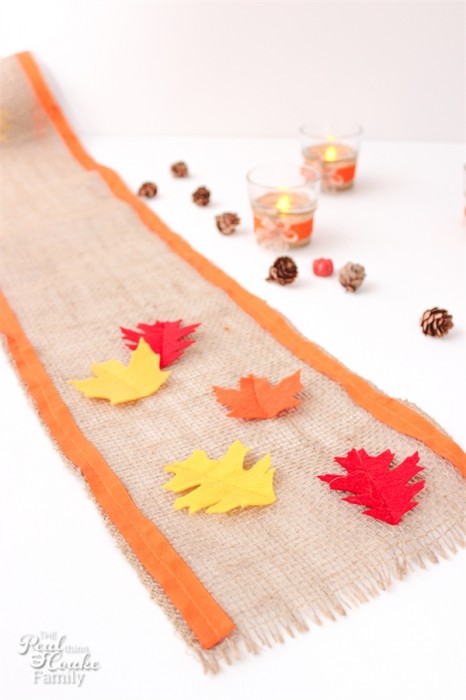
I love the way sewing the leaves down the center works to give the leaves a little bit of a lift and adds some depth. It kind of makes them look like fallen leaves. I also like that I put the leaves on the ends versus down the whole table runner. With the Valentine’s table runner, I had placed the hearts down the whole runner and I like it, but it got in the way of being able to place other things on the table. I have one more idea for my Thanksgiving table that I will show you later this week.
Do you do any special decorating for Thanksgiving?
More Thanksgiving Fun:

Lovely, thanks for sharing on craft schooling Sunday!
Thank you and Thanks for hosting!