Can you believe it is already time to talk about New Year’s? I know we haven’t had Christmas yet, but I’m taking two weeks off this year! Yay! Can’t wait! I wanted to bring you an updated version of the New Year’s bags we have used for the last couple of years and share with you how we celebrate New Year’s together as a family and have tons of fun!
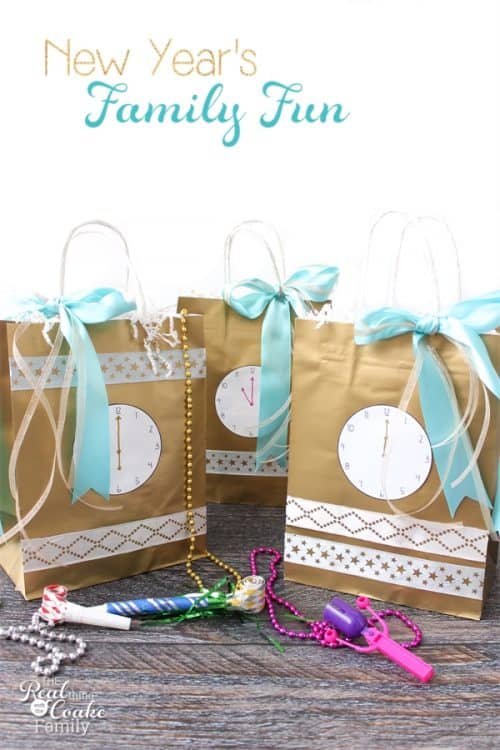
As you may remember, I’ve been working with Offray. They have been sending me ribbon and paying me to come up with ideas using their beautiful ribbons. I knew that Offray ribbon would make a gorgeous update to our New Year’s bags.
We have been celebrating as a family, making our own New Year’s Eve celebration since 2011. I showed you that post in 2012 and had been using those same bags since then. I know we could continue to use them, but this year I thought it would be fun to update and make the bags a bit more pretty.
You want to make some yourself? I’ve got you covered as usual. Follow along with the tutorial on this easy and cute craft.
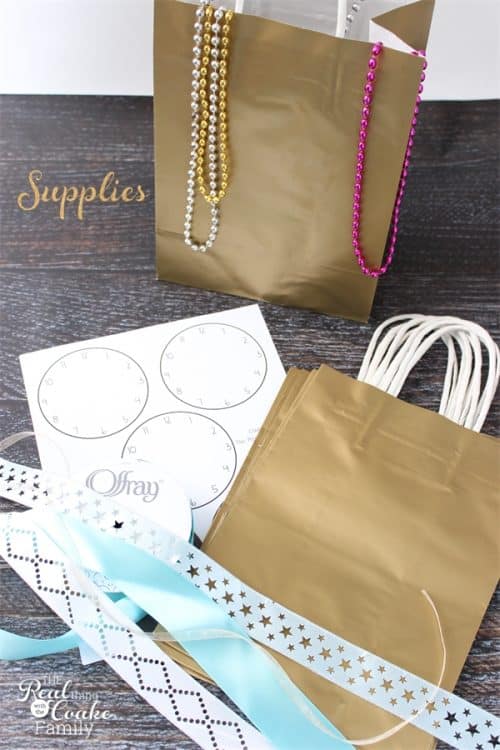
Supplies:
- Paper Bags
- Clock templates (free printable in that post)
- Glue stick
- Scissors
- Bold-tip Pen(s)
- Blue Stars Adhesive Ribbon (coming soon!)
- White Dots Adhesive Ribbon (coming soon!)
- Single Face Satin 1.5″ wide Ribbon in Navajo Turquoise
- Simple Sheer Asiana Champagne Ribbon 1/4″ width
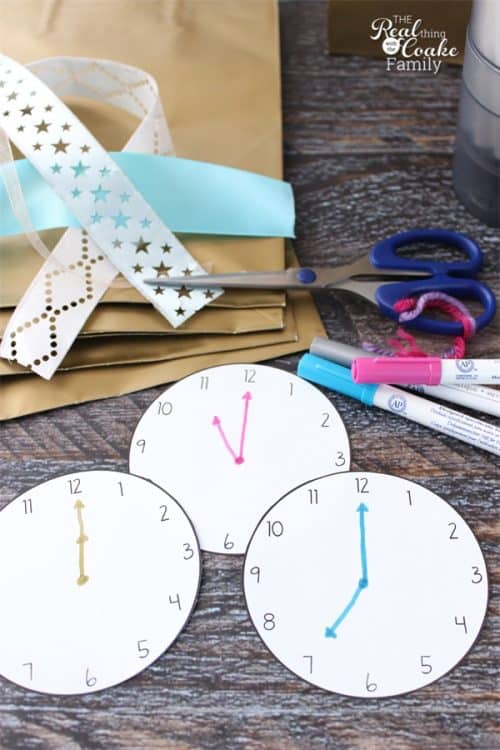
To start, print out your clock template (it is a free printable at the bottom of that post) or freehand clocks for the front of your bags. Add the time to each clock using a bold tip pen.
As a side keeping it real note, make sure you buy enough bags and print enough clocks for the hours you plan to celebrate. Don’t fall for the same mistake I did. I thought if we celebrate from 6pm to Midnight this year since my girls are older, we only need 6 bags. Hello! 6 to midnight with a bag for each hour is 7 bags! Oh boy!
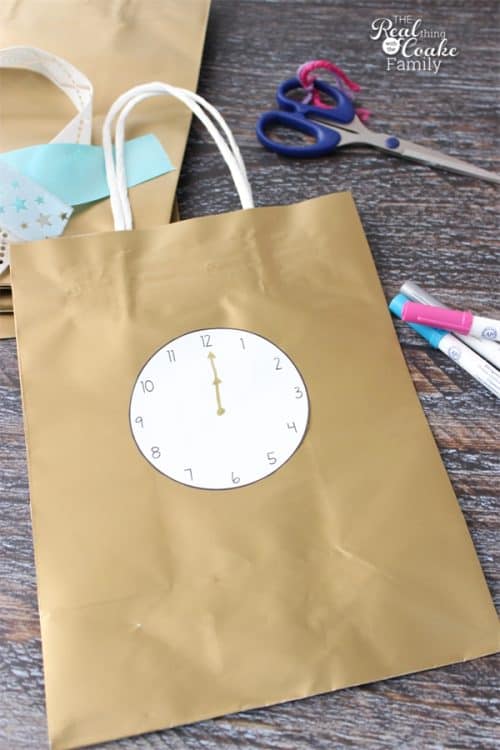
Use your glue stick to adhere the clock to the front of each bag.
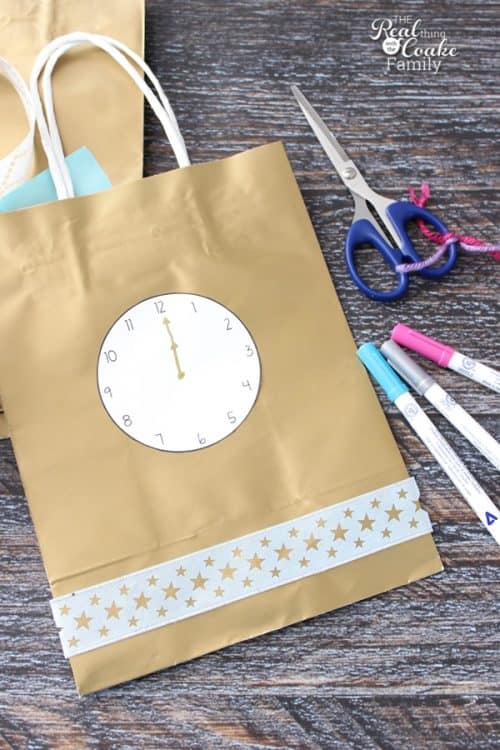
Now comes the fun part! Decorate your bag. I used the Blue Stars adhesive ribbon first on this bag. As you can see I cut it just about the size and trimmed the little bits that hung over the edge (pictured above) after the ribbon was attached to the bag.
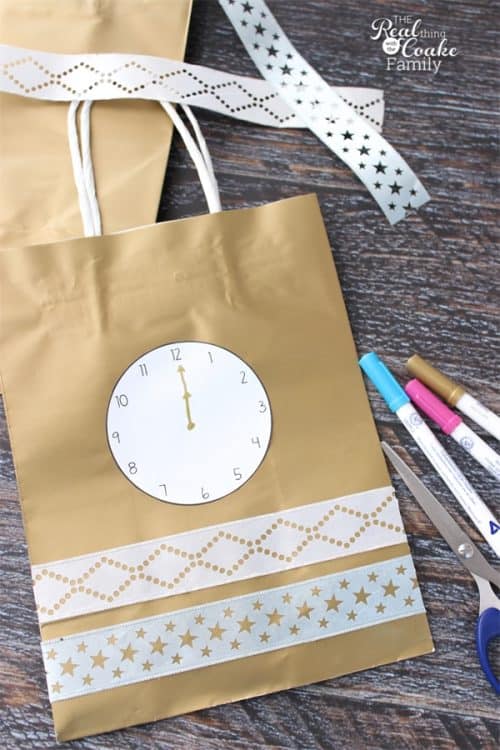
For this bag, I used the White Dots adhesive ribbon just above the Blue Stars. You can vary the placement and look of each bag by varying the placement of the ribbons.
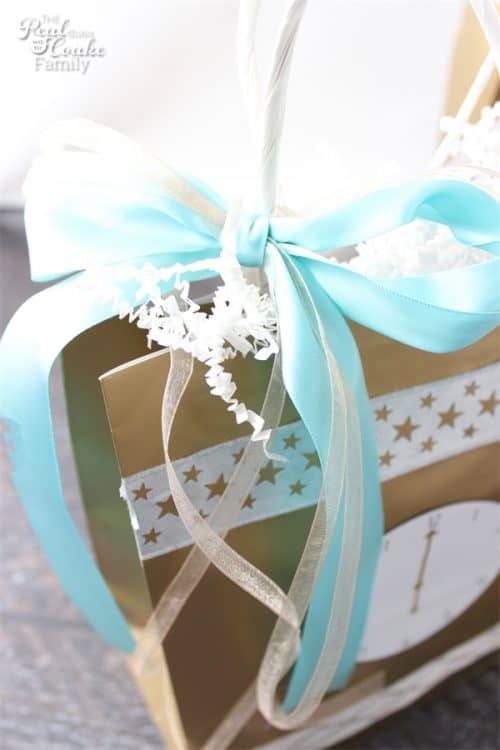
Fill your bags with your clues and any goodies that go with the family activity for that hour. You can look at my Family New Year’s Eve post for some ideas of things we have done and really enjoyed.
Finally, use the Navajo Turquoise Ribbon and 3 cuts the same length of the Sheer Champagne ribbon to tie a pretty bow and close your bag.
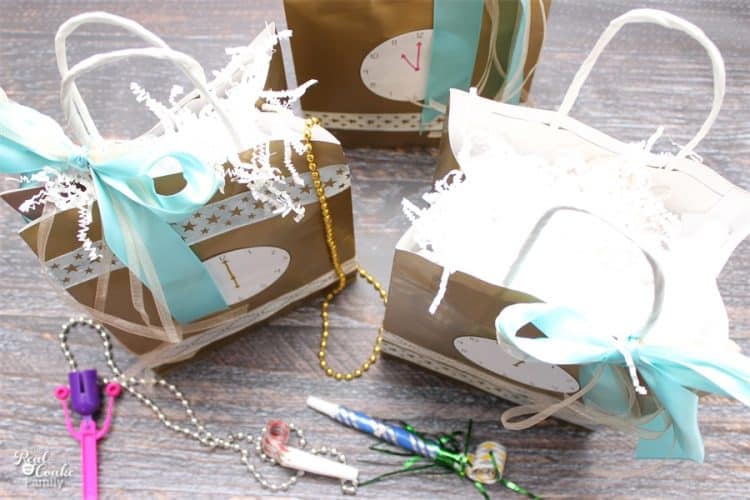
Keeping it real again, if you want to actually tie the bag closed so your kids don’t peek….it will be best to tie the ribbon to both a front and back handle. Unlike I did on the bag on the right. I only tied the front handle. Yep, I know my kids will be peeking in that one or that I will need to re-tie that ribbon.
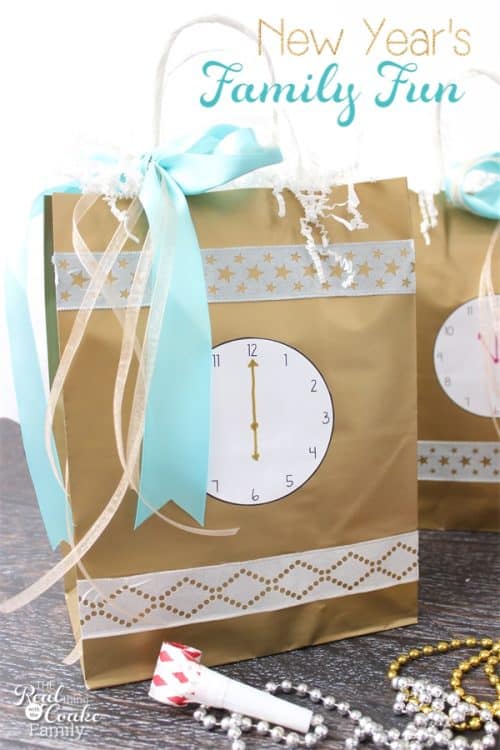
Now you have adorable bags that are ready for your New Year’s family fun! I can’t wait! I love how we spend our New Year’s. I look forward to it. We have had so much fun each year opening the bags and spending a whole evening together.
What do you do for New Year’s Eve? Celebrate with the family or do you go out? If you celebrate with the family, please feel free to leave your ideas in the comments so others can gain even more ideas. 🙂
More New Year’s Fun for You:

Love these New Year’s Eve bags!! So cute!
Thanks so much! What are your plans for NYE?
Such a cute idea!
Thanks, Ashley!
This gift bag is so cute! I want one!
Thanks, Amy!
How fun and festive! Pinned
Thanks! Have a great NYE!
We do New Year bags every year. I love how these are decorated!
Thanks! Aren’t they so fun? We have had the best time each year!
These look great. I especially love the adhesive ribbon.
Thanks Carissa! They were fun to make and we can’t wait to use them. 🙂