I’ve had this idea for a little while and I finally gave it a try. I figured out how to dye Epsom salts which I used to make these cute DIY light jars for my Valentine’s Day home decor.
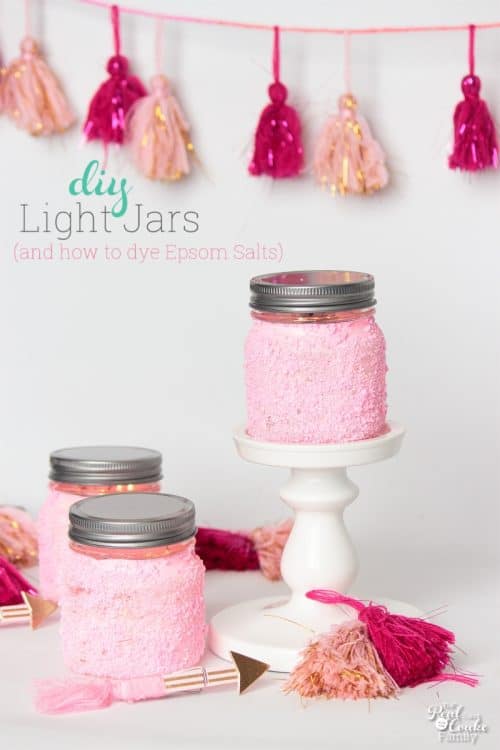
A few years ago, I dyed rice for an activity for our homeschool co-op. I don’t remember what it was for, but I remember everyone commenting on how neat it was. Recently, I started wondering if I could dye Epsom salts in a similar manner.
I’ve made two cute items for my home decor over the years using Epsom salts. I’ve made the gorgeous wine bottles and more recently the candle holders.
I wanted to make some cute DIY light jars for Valentine’s Day using Epsom salts, but I wanted them to be colored. So, I decided to give dyeing Epsom salts a try AND it totally worked! Fun!
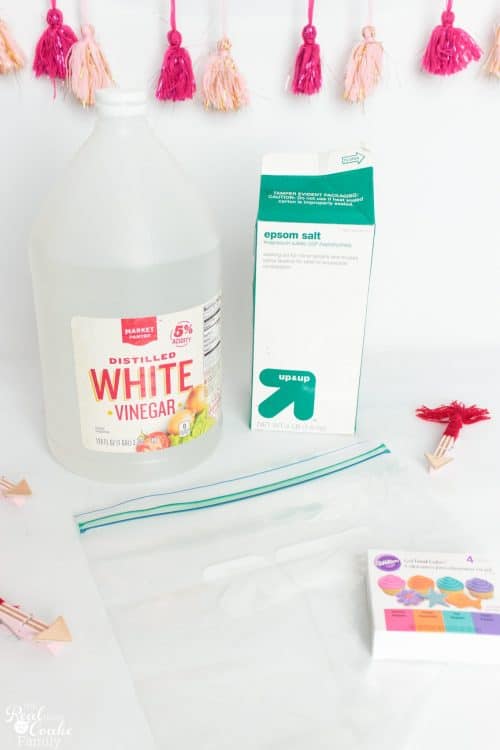
For dyeing Epsom salts, you will need:
- Epsom Salts (my container is from years ago and I can’t find just plain salts at Target anymore. This is a link to plain salts on Amazon and is an affiliate link)
- Vinegar
- Zipper bag
- Food Dye (I used this – affiliate link)
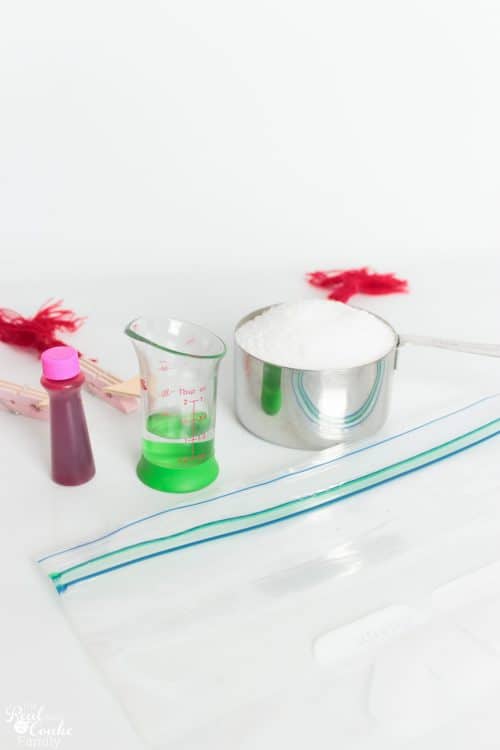
For my mixture, I added 1 cup of Epsom salts, 1 Tablespoon of Vinegar and 6 drops of gel food dye to the bag.
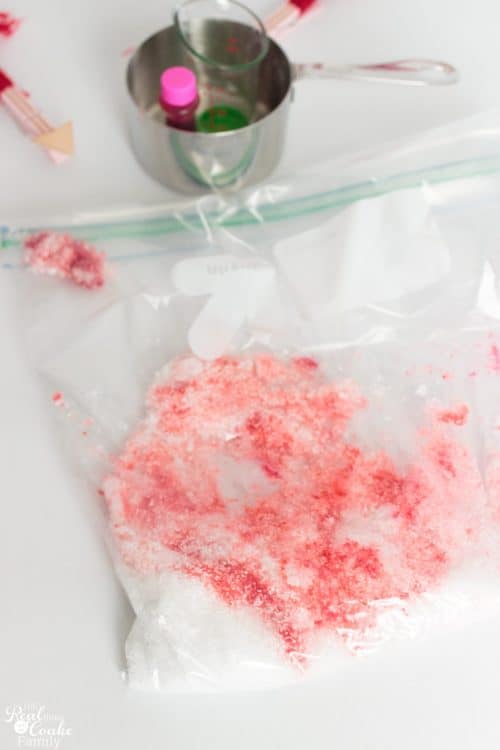
If you are working with the same color I used, when you start mixing it will look red and you will wonder if you did it wrong. Just keep mixing.
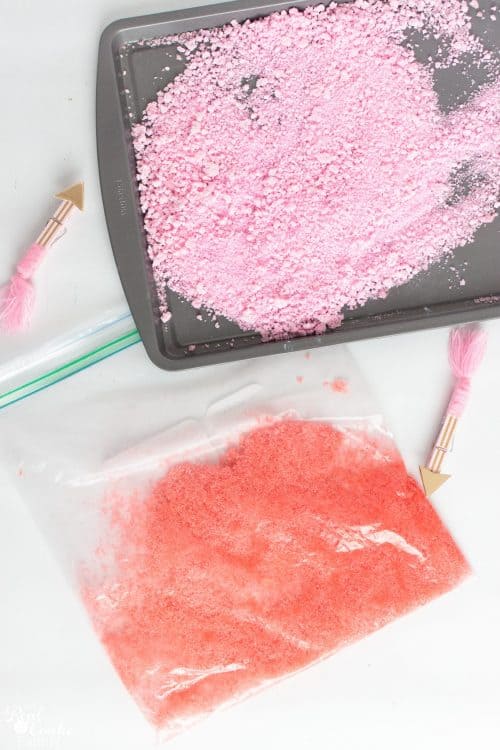
When you have fully mixed the dye in, the color will still look off.
The packaging on the gel food dye says the color will intensify over time. It genuinely changes over time. I totally thought I was going to get more peach looking Epsom salts, but they changed to more pink as I cooked them and the color got even better over the next few days.
Spread your Epsom salts over a baking sheet and place in a 175 degree preheated oven. Bake for 30 minutes mixing up and spreading out again about half way through the baking time.
The salts will most likely still not be totally dry. Just leave them be for a day or so and they should be good to go.
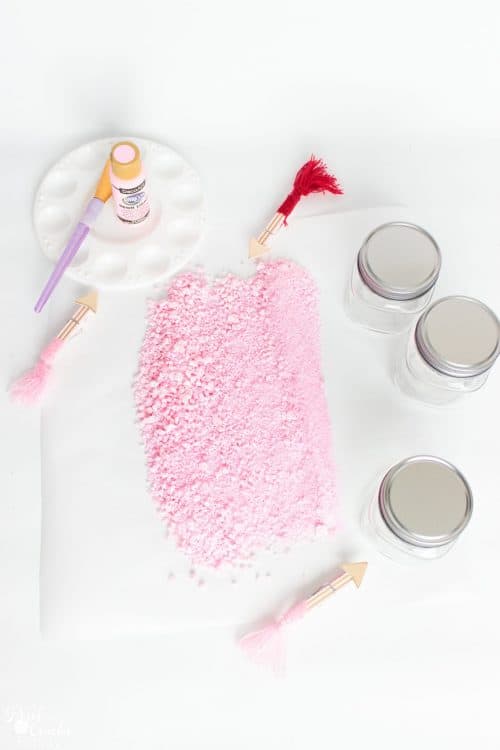
Once your newly colored Epsom salts are dry, you are ready to use them. Fun!
I made mine into little DIY light jars. To do that I would follow my directions in my other post about making Epsom salt candle jars. It worked better but required more patience than this method.
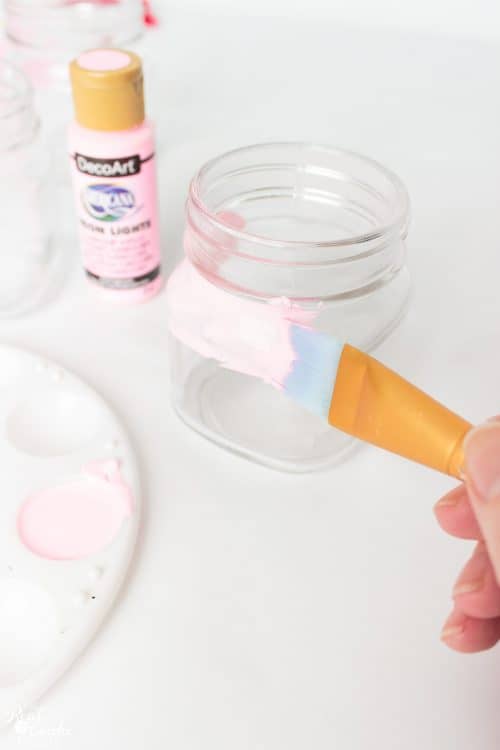
Paint your jars. In this case, I did one quick coat and quickly went on to the next step.
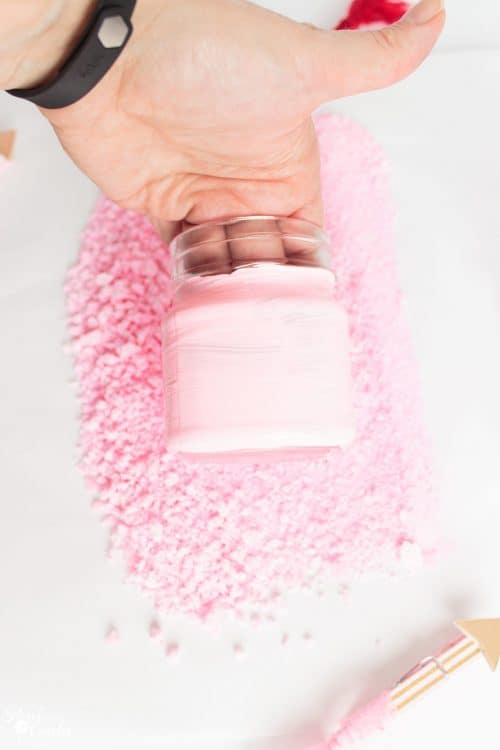
If you want a more polished look, add a second coat of paint and wait for it to dry.
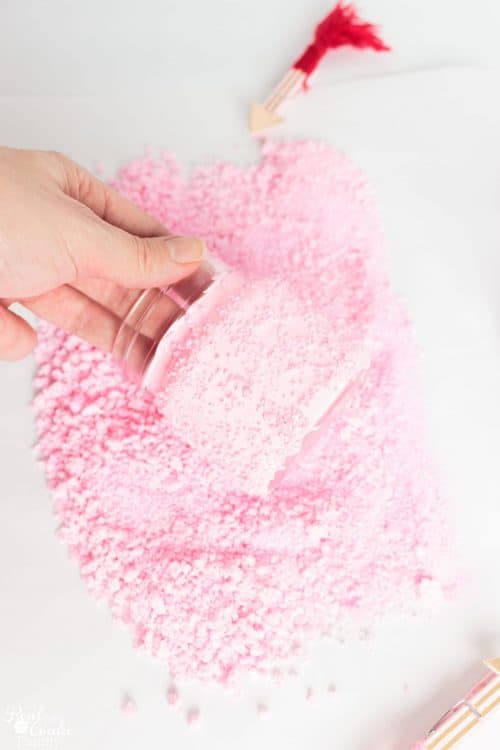
If you are impatient like I was this time, use your wet layer of paint on your jar and immediately dip it into your colored Epsom salts. Roll the jar and press into the salts to get full coverage.
The Epsom salts do tend to clump up during the baking process, so you may need to break them up a bit to get smaller pieces, which will look better.
For those who added a second coat of paint and let it dry, you will add a coat of Mod Podge to your jar and dip in the salts rolling and pressing to get full coverage.
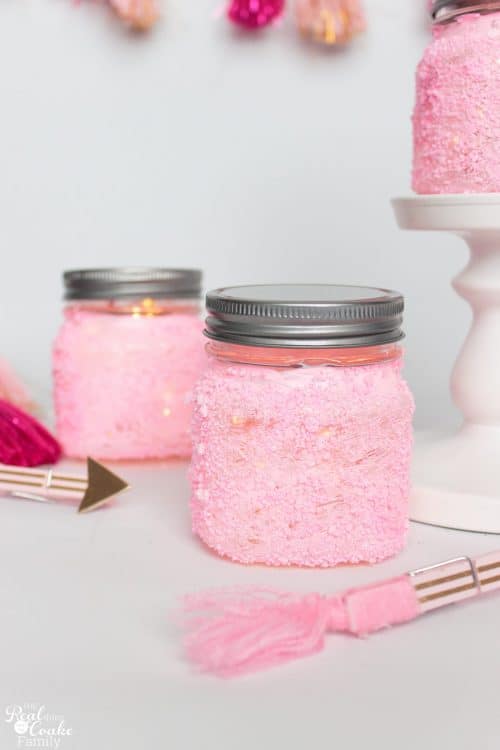
I wish I had been more patient and done the 2 coats of paint and Mod Podge method for these jars. While I LOVE the color of the Epsom salts, I think they look a bit sloppy and I think I will remake them with some salsa jars once we finish one more jar of salsa. I think I will be happier with the results.
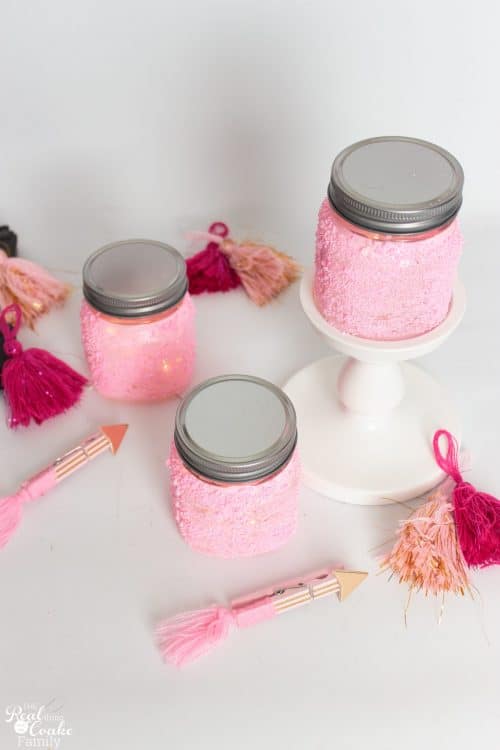
I got my little jars at the Target dollar spot for $3. I liked that they had lids with them because I also found cute little battery operated lights in the dollar spot. I believe they were $3 as well.
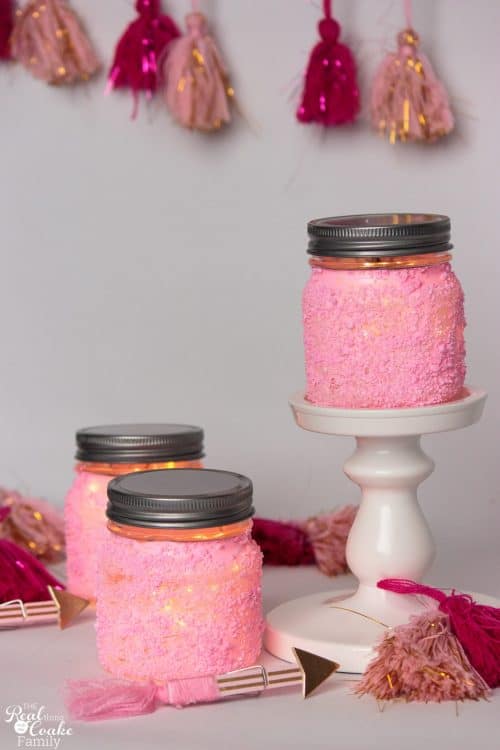
The lights look so cute in the jars!
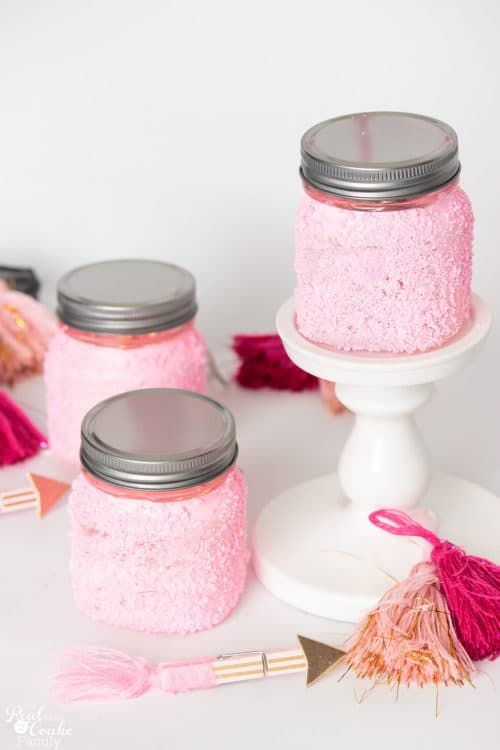
Perfect for my kitchen table. They add a fun touch of color to the table as well. Love it!
I’m super happy to have discovered how to dye Epsom salts. I wonder what else I will create with them now? Fun!
For now, I have the cute little DIY light jars which add some Valentine’s fun to my table.
What have you used to make DIY light jars? I think there are so many possibilities for these fun little jars.
Do you follow me on Instagram? You totally should. I love IG and share tons of great stuff over there.
Your Valentine jars look so pretty! Thanks for sharing your tutorial at Snickerdoodle. Pinning.
Thank you!
These jars are lovely. Thanks for sharing at #OvertheMoon Link Party.
Thanks!
What a fun project! Thanks for sharing at the Inspiration Spotlight party. Pinned & Shared.
Thanks so much!
They are really cute!!! Thank you for the instructions!
Thanks so much!
Just popped by to get the directions on how to dye Epsom salts because I am making some wedding centerpieces. This was super helpful. Thank you!
Amanda, So glad I could help!
KC
Hello!!! Just wondering if the vinegar smell stays after baking and drying. Also, are you able to use liquid food coloring instead of gel?? Thank you!!
I don’t remember the vinegar smell remaining after baking and drying, but you could always add a few drops of an essential oil afterward to have a smell you like. I’ve never tried liquid food coloring, but I would imagine it would work as well. Let me know if you give it a try. I’d love to know.