Guess what? I finally got the curtains done in my daughter’s room. Yay! I’m pretty sure they took me 5 months to get done. I am so glad to have the curtains off my list of things that need to get done in her room. We ended up deciding to paint her curtains and of course I will show you how you can do the same.
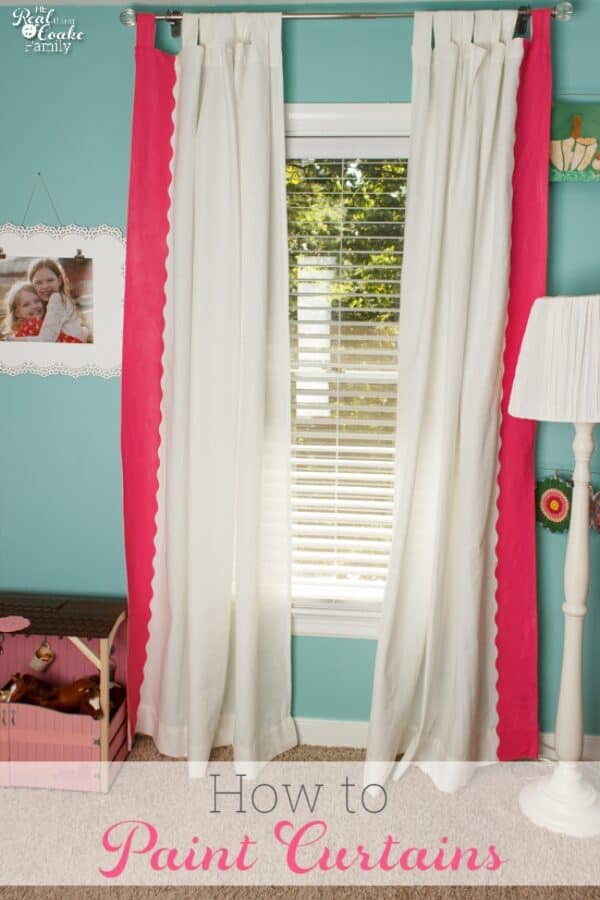
A month or so ago when I wrote the post with 15 great DIY curtain ideas, my daughter and I had a solid plan for what to do with her curtains. Then I pulled out the ribbon that we planned to sew onto the curtains and found that I had bought a ribbon with spandex in it. Yeah, that was never going to work well to sew…unless my goal was to teach my daughter a whole bunch of new swear words. Lol! So, we used that post as inspiration and decided that we would paint her curtains somewhat similar to one of the ideas in that post.
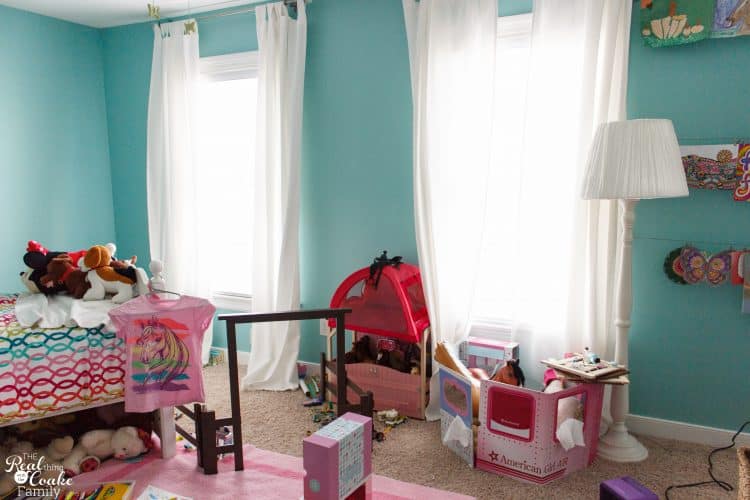
This is the before of the curtains…and showing you her room like it usually looks versus the more styled pictures you will see in the cover shots for this post.
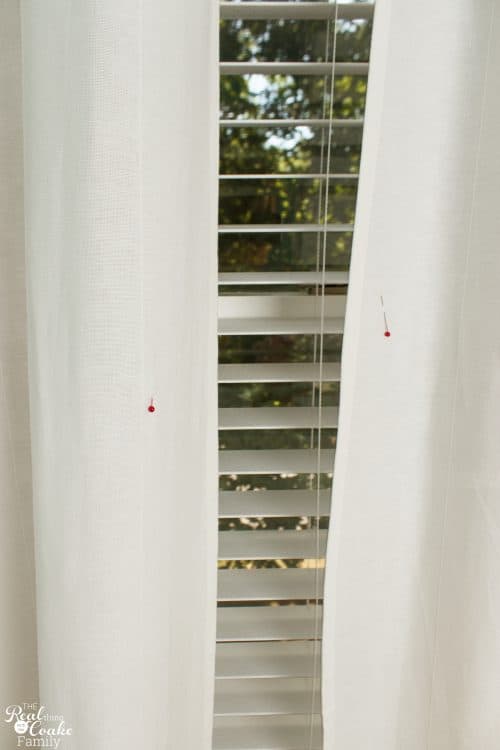
I’ve got full step-by-step directions for you at the end of this post. One fantastic tip I will give you that I used in her room is to place color coded pins in each set of panels. That way you will know which panels go back in which window and which panels go together.
I color coded mine according to the rainbow(at least as much as I had pins matching the rainbow) starting on the left side of her room. So, the first window got red pins, the second window got yellow pins, and the third window got green pins. Next up I hemmed the curtains with my quick easy method for hemming curtains.
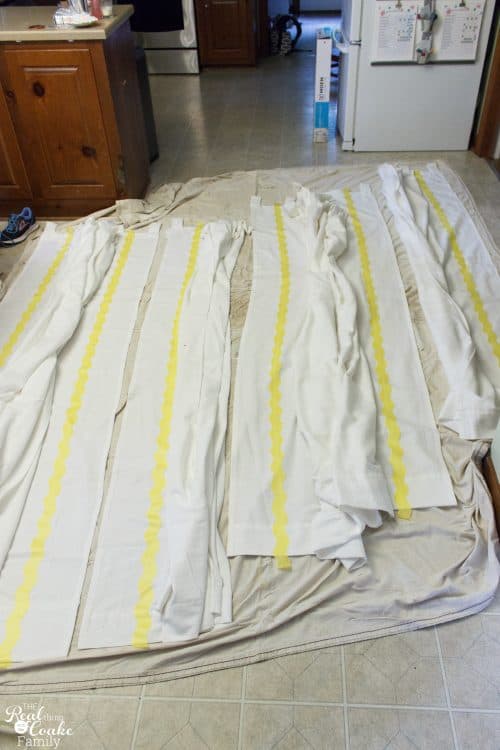
If you are painting multiple panels for multiple windows, you will need a good amount of space in which to paint. If you notice above, I bunched up the portions of the curtains that were not getting paint in order to save some floor space. The 6 panels took up every available floor space I had in my kitchen.
Make sure you have enough paint! Trust me! I was kind of having a ding-dong moment and thought that 3-2 oz. containers of paint plus the fabric medium would be enough for all of these panels. Yeah, not even close.
I couldn’t find enough of the Martha Stewart acrylic paint I was using, so I ended up going to Lowe’s to color match the paint. They weren’t able to exactly color match because there was too much color in this paint for the colorant to fit in the can of paint. I never even knew that could happen.
Thankfully, I had 2 people helping me that were persistent and I wish I remembered her name, but the woman who was helping me kept at it and eventually came up with a color that was just a shade off of the original color. I gratefully accepted that color and headed home to finish up.
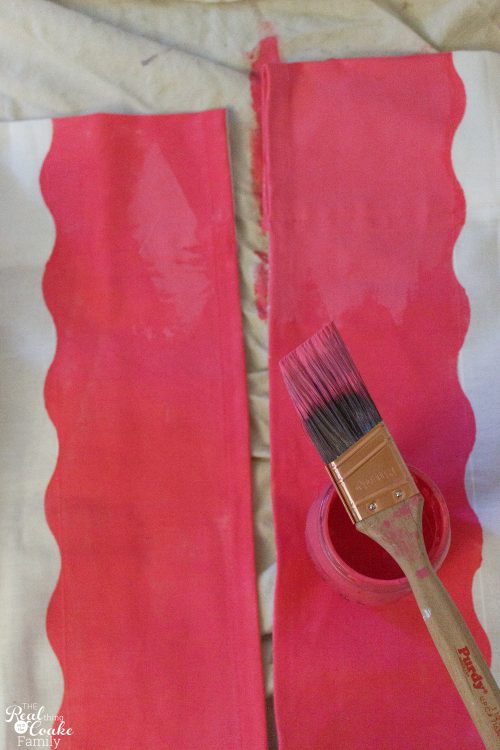
Expect to paint two coats of paint and don’t take your tape off your curtains until after your second coat of paint. I didn’t anticipate that and had to freehand the second coat of paint.
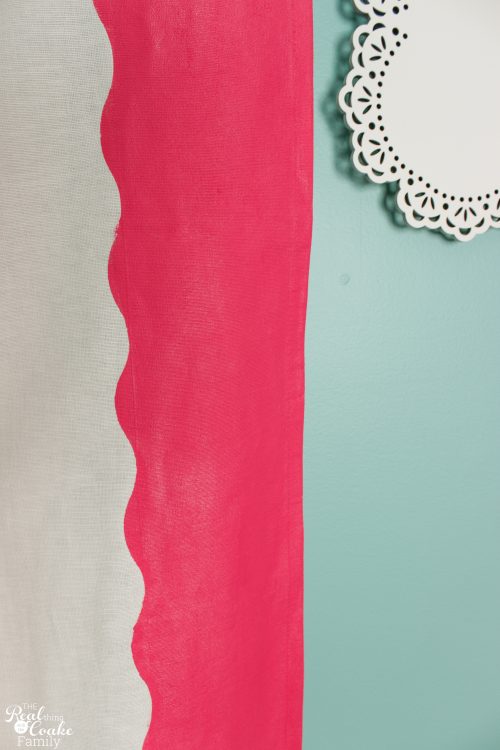
I did have some bleeding under the tape but not too much. We love the cute scallop detail. The curtains also add a fun touch of color to her room.
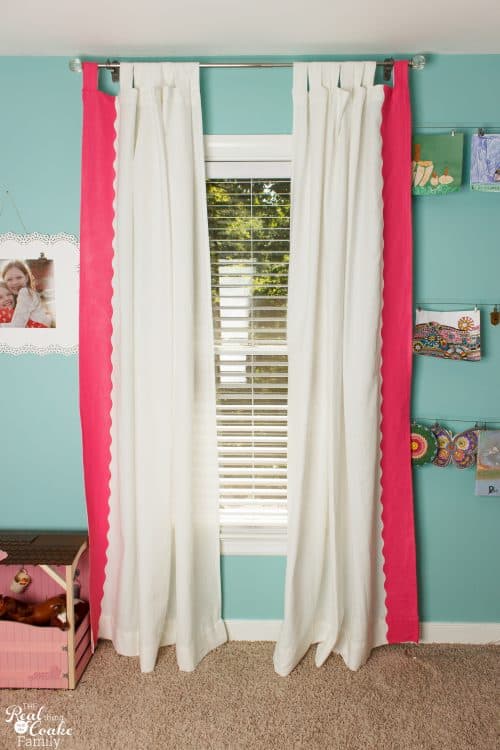
I did run into the fact that the painted section of the curtains shrinks more than the other areas. I hemmed my curtains, but I know I wasn’t that off with my hemming.
You can see how the painted section is shorter than the rest of the panel in the picture above. It is shorter on all the panels, but it shows off the best on the side closest to her art wall in this picture.
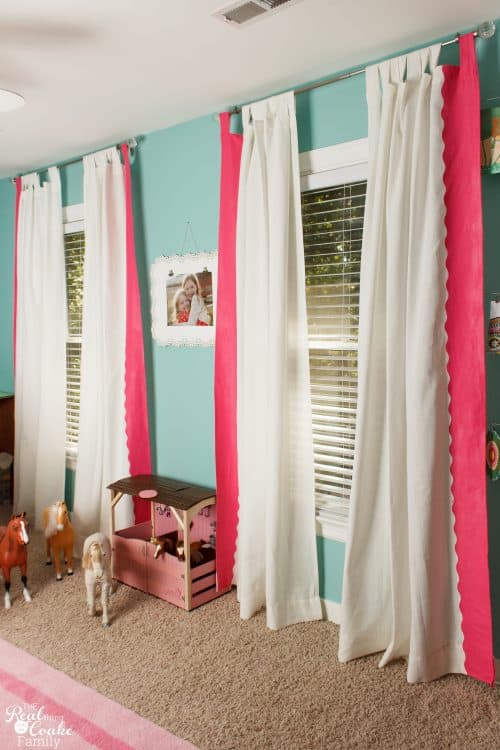
I’ve got full step-by-step directions for you from store bought curtains that are too long to the final curtains hung. Just fill in your info. below to get your directions.
Have you ever painted curtains? What pattern did you paint?
Follow me on Instagram or Facebook for even more ideas and fun.

Ok, this might be a really dumb question- how did you get your scalloped design? It looks like you maybe bought the tape that way? I had no idea that was a possibility!
Not a dumb question at all. I have the in my step-by-step directions that you can download, but it is some neat tape that you can use that will give you this or a few other shapes. Fun!
Fabulous idea and the results are amazing. Really interesting how one touch can make a whole room! Thanks so much for sharing on craft schooling Sunday.
Thank you! It does add some fun to her room. Thanks for hosting!
These turned out so cute! I love the scalloped edge. I can’t wait to do over my daughter room, so pretty!
Thank you! What kinds of fun ideas do you have for your daughter’s room?
The curtains look wonderful. Thanks for sharing your tips on painting curtains with us at Snickerdoodle Sunday. Pinned and Tweeted.
Thank you!
Oh wow! Is this ever creative and BEAUTIFUL! Very well done.
Thanks for sharing (and for linking up to the #SHINEbloghop).
Wishing you a lovely weekend.
xoxo
Thank you! Have a great week. 🙂
Wow, they are cute, cute, cute! I never knew you could paint curtains like that!! Thanks for sharing with us at Throwback Thursday!!
Mollie
Thank you!